RESPONSUM allows you to report privacy incident and breaches and helps you calculate the impact from information provided by you.
See it in action
Pre-requisites to get started
- Permissions on the “Incident” sub-module (Under “Operations”) as Promoted user or Power User
Fast-track to Brilliance
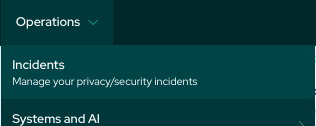
- Select the “Operations” menu in the main menu bar
- Select “Incidents”
- Add a new incident by clicking the “+ Create” or Edit and existing Incident
- In the “Incident details” section you can first add some general details related to the incident (Reporter, incident date, detection date, related files,…)
- In the “Incident origin” section you can provide information on where the incident stems from.
- At this point, if there is no data breached, all further steps aside from ‘Summary’ are hidden.
- In the “Leaked Data” section you can add specifications of what data was leaked and who was affected by the leak.
- In the “Ease of Identification” and “Circumstances” sections you can further narrow down the identifiability of the data subjects and the risks the leak poses.
- In the “Projected Impact” section an automatic calculation of the severity of the leak is made based on all your answers from the previous sections. You can agree with the calculation or disagree and make your own estimation.
- In the “Summary” section you can write down any further information, next steps and conclusions for the data breach.
- Don’t forget to press ‘create’ or ‘save’ to make sure all your work is saved!
Step-by-step guidance
Go to ‘Operations’ menu in the top bar, and select ‘Incidents’. When you are transferred to the overview page, click the ‘Create’ button to get started.
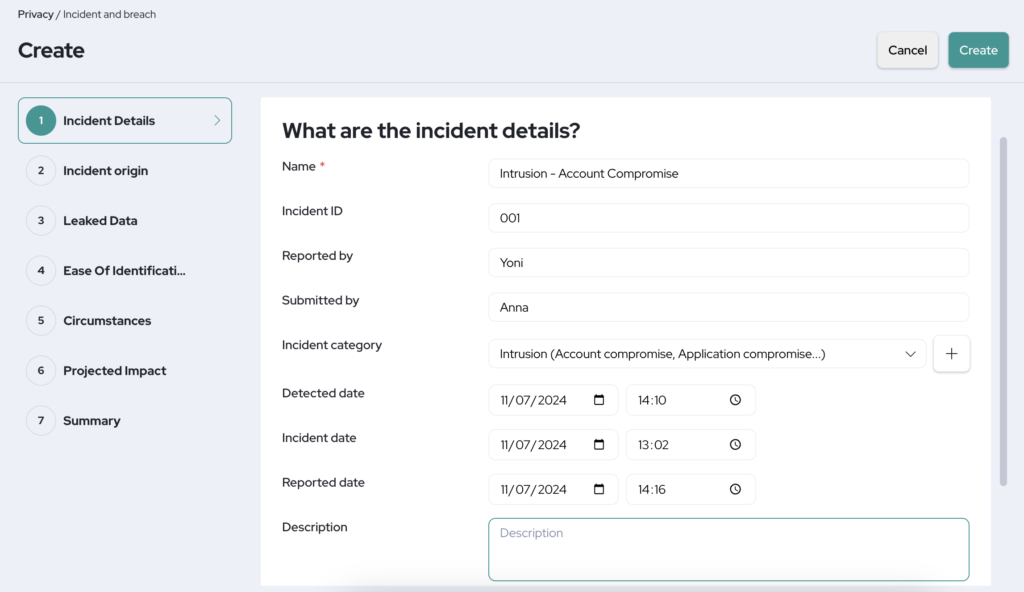
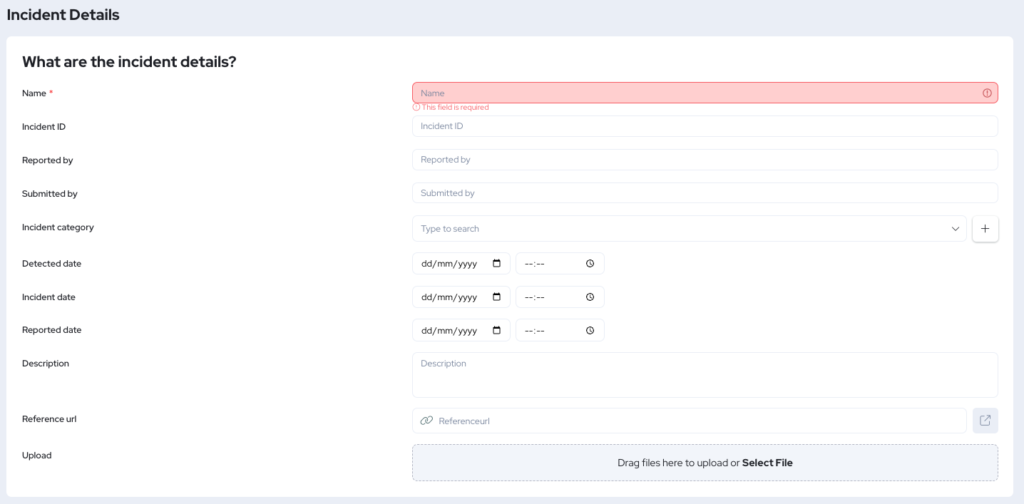
1. Incident Details
- Name: Give the incident a name, ideally the name should be short and reflective of the issue.
- Incident ID: Give your incident a unique ID that sets it apart from similar incidents.
- Reported by: Fill in whoever reported the incident.
- Submitted by: If applicable, fill in whoever submitted the incident.
- Category: Here you can select one or more categories that relate to the incident.
- Detected date: Here you can select the date and time when the leak was discovered.
- Incident date: Here you can select the date and time when the leak actually happened.
- Reported date: Here you can select the date and time when the leak was reported.
- Description: Feel free to add any additional information that should be known of when, how and why the leak happened and was discovered.
- Reference url: Feel free to add a link which relates to the incident.
- Upload: Feel free to upload any files and documentation that are of importance to the data breach.
2. Incident Origin
- Incident origin: Select whether the origin of the incident is internal or external.
- Involved function: If you selected internal; you can select the involved functions here.
- Involved vendor: If you selected external; you can select any involved vendors here.
- Privacy role: Select whether your role within the incident is ‘controller’ or ‘processor’.
- Is personal data leaked? If personal data was leaked; you will have to continue filling in the next steps. If there was no personal data leaked, you will go straight to the ‘Summary’.

3. Leaked Data
- What data is leaked? In this table, you can add which and how many data subjects were affected by the data breach. You can add several different data subjects.
- IM System: Here you can select any related IM Systems.
- Data attribute: Here you can select any related Data Attributes.
- Next up are several questions for you to fill out to bring the severity of the data breach into view. From this part, our assessment based on the Enisa Methodology will commence to give you an indication of the impact of the data breach. More information on the calculation and question weights can be found later in this article.
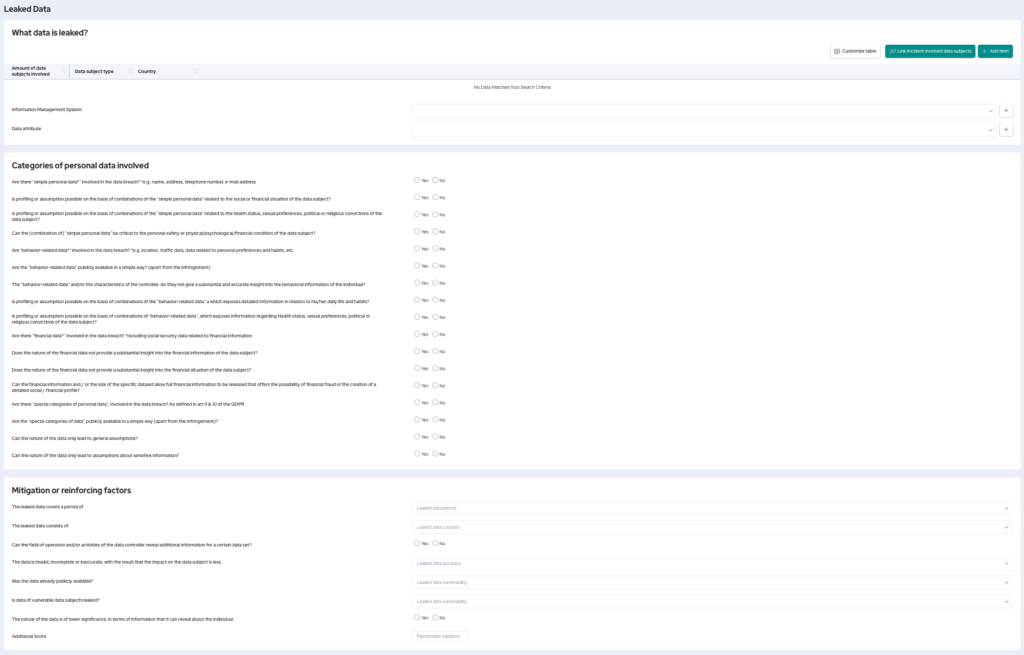
4. Ease of Identification
- For this section, simply fill out whether the data subjects that were affected are easily identifiable based on the data that was leaked.
- Feel free to add a justification for this answer.

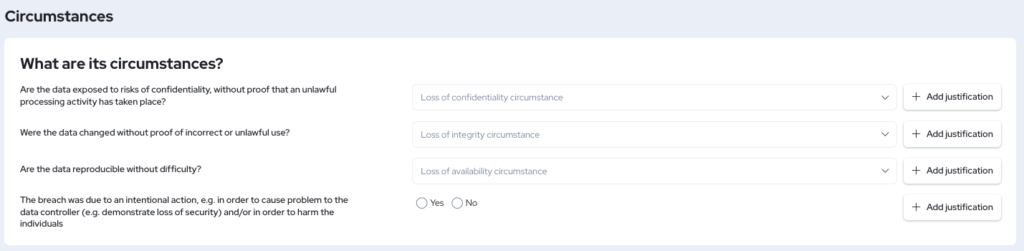
5. Circumstances of the breach
- For this section, you’re required to fill in a few more questions concerning how the data breach happened and if it’s intelligible and poses a risk to the affected data subjects.
- Each question comes with an optional justification.
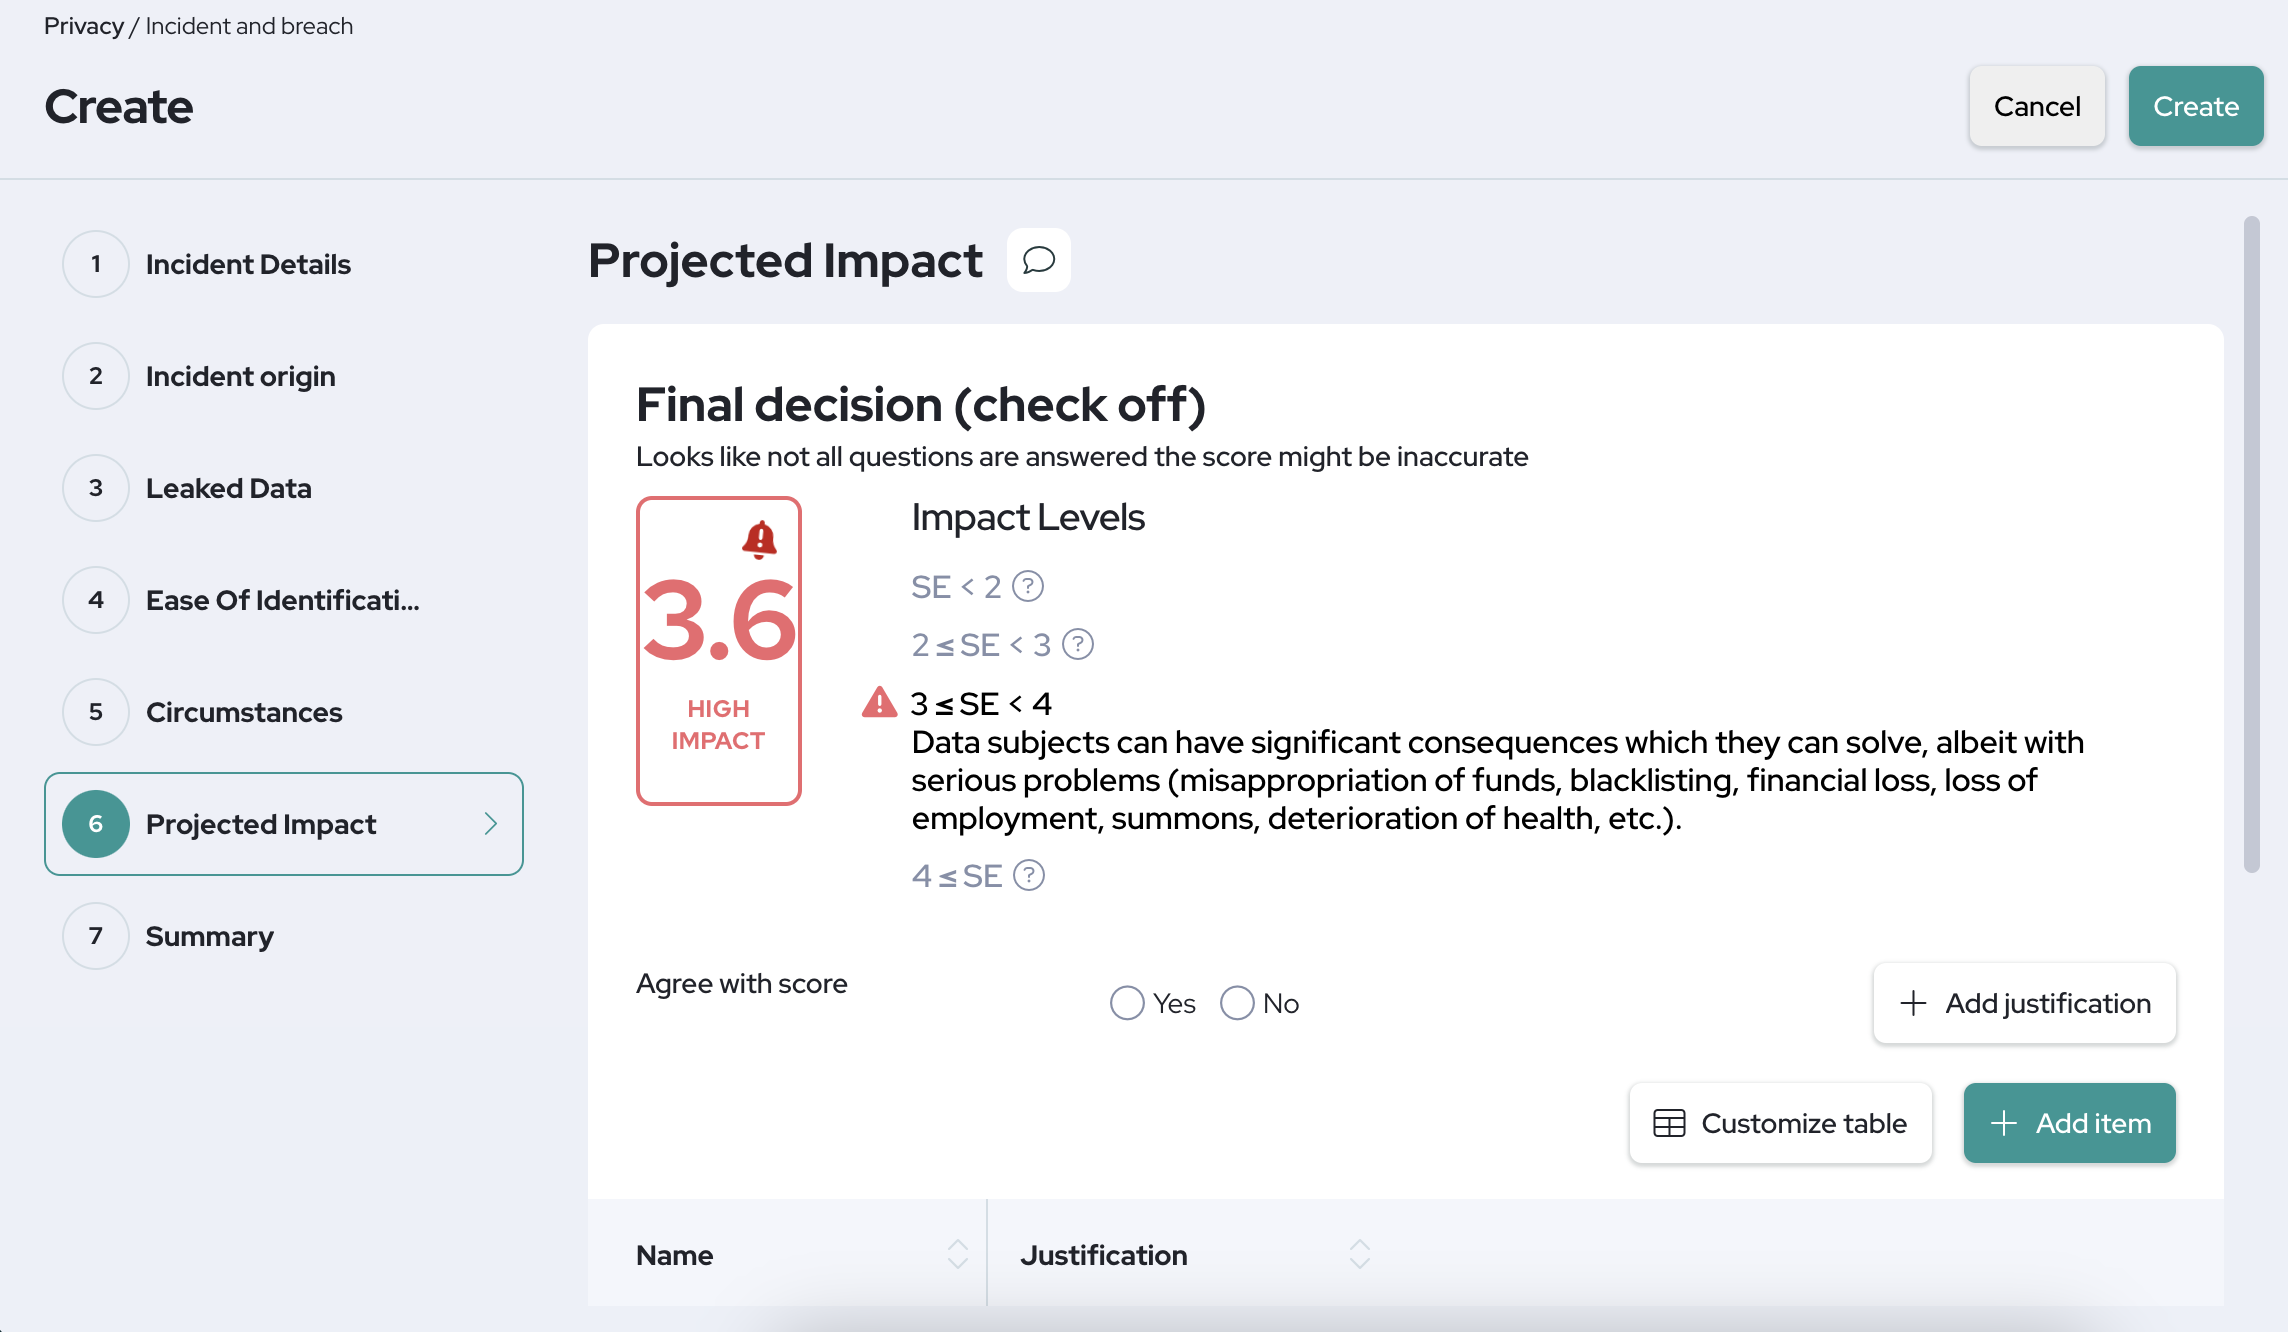
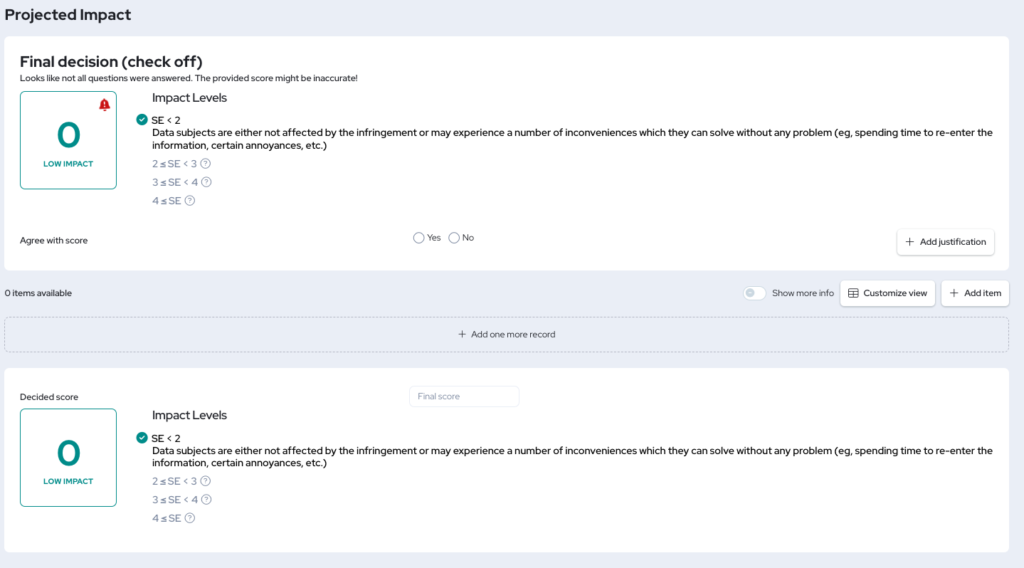
6. Projected Impact
- Impact level: this displays an automatically calculated impact level based off all your answers, and a little explanation of what this means.
- You can agree or disagree with the calculated impact level.
- If you agree with the calculated impact level; you can continue with adding justifications, and proceed to the next section.
- If you disagree with the calculated impact level; you can add justification on why you disagree and then scroll down to ‘Decided Score’; where you can enter your own estimated impact level. You can now also proceed to the next section.
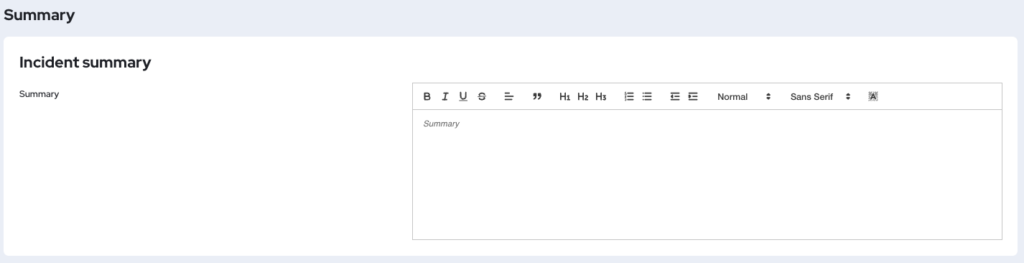
7. Summary
- In the summary you are free to enter any additional information you would like to share concerning the data breach and its impact, as well as conclusions and next steps.
Data Breach Assessment
Whenever you indicate that personal data has been breached as a result of the security incident, you will be guided through our ENISA methodology based assessment on the impact resulting from such a data breach.
The European Union Agency for Cybersecurity (ENISA) has issued recommendations on a methodology for assessing the severity of personal data breaches to help organizations comply with the General Data Protection Regulation (GDPR), specifically Articles 33 and 34, which require organizations to assess the risk of breaches and determine whether to notify regulators and data subjects.
DISCLAIMER: The score provided by RESPONSUM is an indication based on context questions. RESPONSUM cannot be held accountable for any actions taken based on this calculation and allows the user to with an explanation overwrite the conclusion/score if required based on additional context that is not covered by the calculation.
RESPONSUM will provide you a suggested impact score on the “Projected Impact” page.
The following calculations are being used for this assessment:
Impact score = “Leaked data” (DPC) x “Ease of identification” (EI) + “Circumstances” (CB)
Leaked data (DPC)
Categories of personal data involved
Within each category, the weights of questions are added up. The category with the highest score (MAX) will determine the score for this “Categories of personal data involved” section.
| Question | Question weight |
| CATEGORY 1 Are there “simple personal data*” involved in the data breach? *e.g.: name, address, telephone number, e-mail address | Yes: +1 No: 0 |
| Is profiling or assumption possible on the basis of combinations of the “simple personal data” related to the social or financial situation of the data subject? | Yes: +1 No: 0 |
| Is profiling or assumption possible on the basis of combinations of the “simple personal data” related to the health status, sexual preferences, political or religious convictions of the data subject? | Yes: +2 No: 0 |
| Can the (combination of) “simple personal data” be critical to the personal safety or physical/psychological/financial condition of the data subject? | Yes: +3 No: 0 |
| CATEGORY 2 Are “behavior-related data*” involved in the data breach? *e.g. location, traffic data, data related to personal preferences and habits, etc. | Yes: +2 No: 0 |
| Are the “behavior-related data” publicly available in a simple way? (apart from the infringement) | Yes: -1 No: 0 |
| The “behavior-related data” and/or the characteristics of the controller, do they not give a substantial and accurate insight into the behavioral information of the individual? | Yes: -1 No: 0 |
| Is profiling or assumption possible on the basis of combinations of the “behavior-related data” a which exposes detailed information in relation to his/her daily life and habits? | Yes: +1 No: 0 |
| Is profiling or assumption possible on the basis of combinations of “behavior-related data” , which exposes information regarding Health status, sexual preferences, political or religious convictions of the data subject? | Yes: +2 No: 0 |
| CATEGORY 3 Are there “financial data*” involved in the data breach? *including social security data related to financial information | Yes: +3 No: 0 |
| Does the nature of the financial data not provide a substantial insight into the financial information of the data subject? | Yes: -2 No: 0 |
| Does the nature of the financial data not provide a substantial insight into the financial situation of the data subject? | Yes: -1 No: 0 |
| Can the financial information and / or the size of the specific dataset allow full financial information to be released that offers the possibility of financial fraud or the creation of a detailed social / financial profile? | Yes: +1 No: 0 |
| CATEGORY 4 Are there “special categories of personal data”, involved in the data breach? As defined in art 9 & 10 of the GDPR | Yes: +4 No: 0 |
| Are the “special categories of data” publicly available in a simple way (apart from the infringement)? | Yes: -1 No: 0 |
| Can the nature of the data only lead to general assumptions? | Yes: -2 No: 0 |
| Can the nature of the data only lead to assumptions about sensitive information? | Yes: -1 No: 0 |
Mitigation or reinforcing factors
These weights of these additional factors are added up together and in turn added to the score of the previous section.
| Question | Question weight |
| The leaked data cover a period of: | < 1 week: 0 1 week and < 1 month: 0 1 month and <1 year: +1 1 year: +1,5 |
| The leaked data consists of: | A limited set of data: 0 The entire file of the data subject: +1 |
| Can the field of operation and/or activities of the data controller reveal additional information for a certain data set? | Yes: +1 No: 0 |
| Is data of vulnerable data subjects leaked? | Yes: +1 No: 0 |
| The data is invalid, incomplete or inaccurate, with the result that the impact on the data subject is less. | Yes: -1 No: 0 |
| Was the data already publicly available? | No: 0 The data were already publicly available before the data breach took place: -1 The data can easily be collected and/or consulted via publicly available sources: -2 |
| The nature of the data is of lower significance, in terms of information that it can reveal about the individual. | Yes: -1 No: 0 |
| Add an additional score towards for mitigating or reinforcing factors | Any number added in this field will be added/subtracted from the score for this section. |
Ease of identification (EI)
Indication of the identifiability of the Data Subject based on the data leaked. This will be multiplied by the DPC score of the sections above.
| Question | Question weight |
| Negligible Possibility that data subjects will be identified and/or unreasonable effort is required from the attacker to try to identify the involved data subjects | 0,25 |
| Limited Possibility to identify the data subject | 0,50 |
| Significant Possibility that the data subject is identified | 0,75 |
| Maximum (obvious) identification (directly or indirectly) | 1,00 |
Circumstances (CB)
Additional parameters to determine the circumstances of the breach. These will be added up to the calculation around DPC and EI earlier.
| Question | Question weight |
| Are the data exposed to risks of confidentiality, without proof that an unlawful processing activity has taken place? | The data breach was unintentional and the persons at the source of the breach don’t have the intention to use the personal data: 0 Data disclosed to a known number of recipients: +0,25 Data disclosed to an unknown number of recipients: +0,50 |
| Were the data changed without proof of incorrect or unlawful use? | Data altered without any identified incorrect or illegal use: 0 Data altered and possibly used in an incorrect or illegal way with possibility to recover: +0,25 Data altered and possibly used in an incorrect or illegal way without possibility to recover: +0,50 |
| Are the data reproducible without difficulty? | Data is recoverable without any difficulty: 0 Data temporarily unavailable: +0,25 Data cannot be recovered from the controller or data subjects: +0,50 |
| The breach was due to an intentional action, e.g. in order to cause problem to the data controller (e.g. demonstrate loss of security) and/or in order to harm the individuals | Yes: +0,50 No: 0 |
If you have any questions related this guide or way of working, please reach out to support@responsum.eu for assistance.